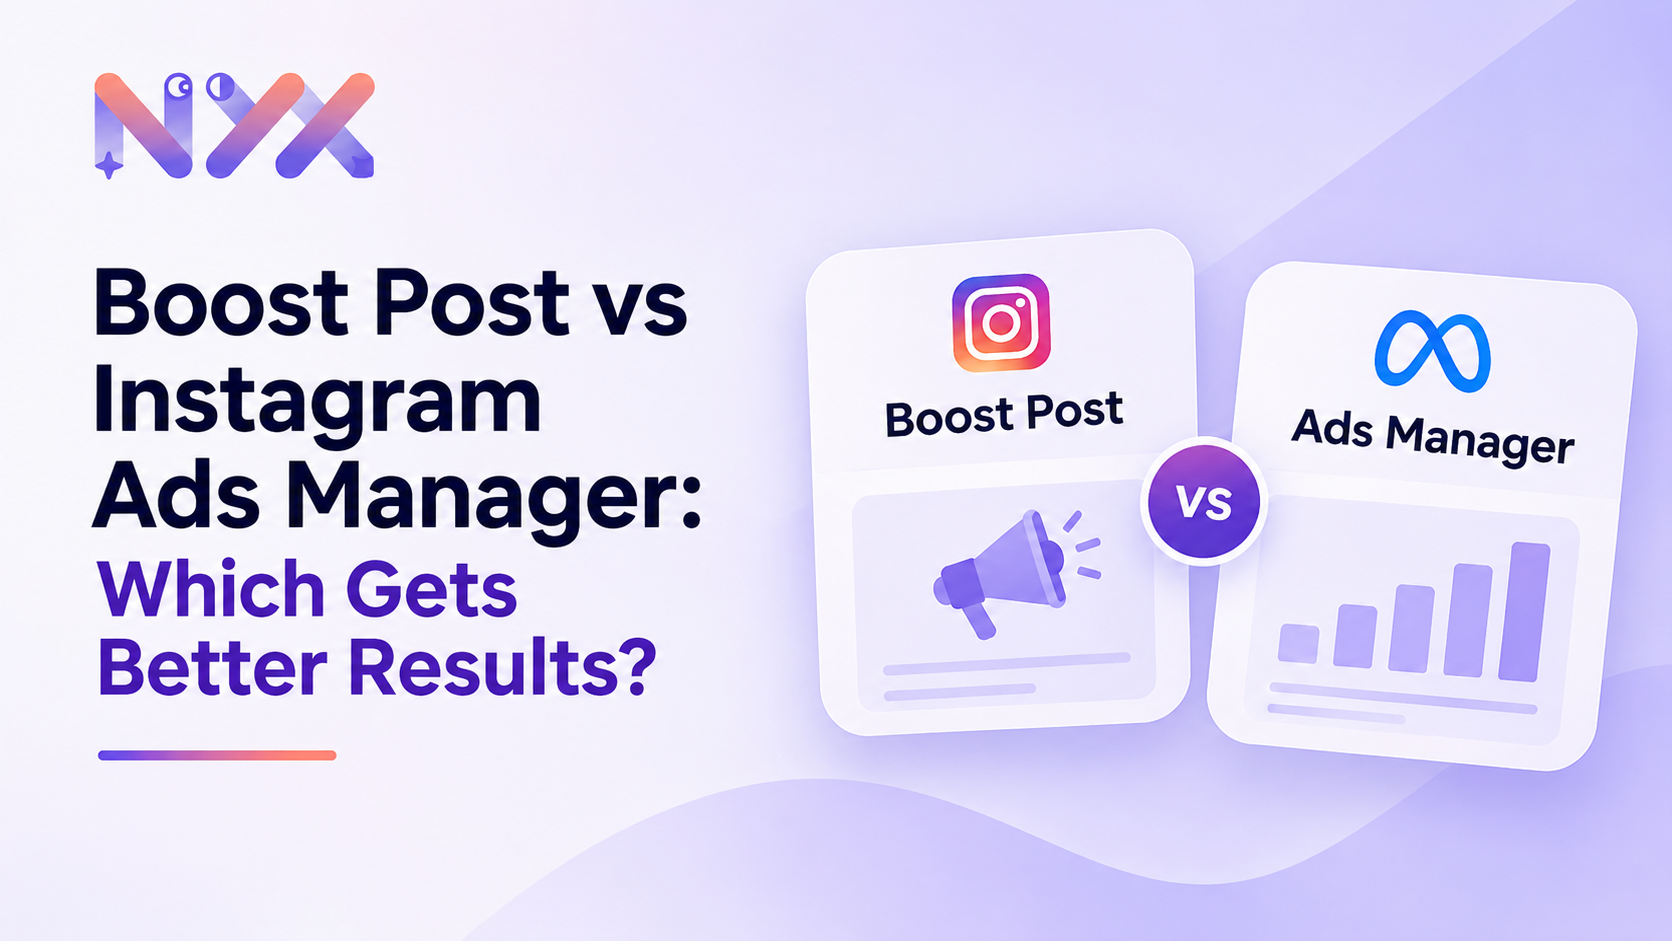
You post a Reel, it starts doing well, and Instagram shows you a bright blue button: Boost post. Two taps and ₹500 later, your views jump. But did your sales jump too? That is the real question behind the search so many business owners type every day: do Instagram promotions work?
The honest answer is yes, but only when you use the right tool for the right job. Instagram gives you two ways to pay for reach: the boost post button inside the app, and Meta's full Ads Manager. They look similar from the outside. Underneath, they work very differently. This guide breaks down what each one does, where each one wins, and how to decide in under a minute which one deserves your budget.
Key Takeaways
|
Do Instagram Promotions Work?
Instagram promotions work when three things line up: a clear goal, the right audience, and a way to measure the result. Most disappointing promotions fail on the first or third point. A business wants sales, picks a boost goal built for profile visits, and then judges the campaign by likes.
Think of it this way. Meta's delivery system is very good at finding exactly what you ask for. Ask for cheap profile visits and it will find people who tap profiles a lot, whether or not they ever buy. Ask for purchases, with tracking in place, and it will look for people who behave like buyers. The tool you choose decides what you are allowed to ask for.
What Is a Boost Post?
A boost post turns something you have already published into an ad, straight from the Instagram app. You need a professional (business or creator) account. You pick a post, choose a goal, choose an audience, set a daily budget and a duration, and pay.
The goals on offer are simple: typically more profile visits, more website visits or more messages. Audience options are equally simple. You can let Meta choose automatically, or build a basic audience using location, age, gender and interests. Some accounts can also reach people who already engage with them.
Where boosting shines
Speed. A campaign is live in about two minutes, from your phone.
Social proof stays together. Likes and comments from the boost add to the original post.
Low effort testing. A small boost tells you quickly whether a piece of content can travel beyond your followers.
Messages and local reach. For a salon, café or coaching class that closes deals in DMs, a boost aimed at messages can be enough.
Where boosting falls short
Boosts hide most of the machinery that makes paid social profitable. You cannot pick a sales or leads objective, you cannot optimise for a purchase event, you get no real placement control, and there is no built-in way to test two versions against each other. You are trading control for convenience.
What Is Instagram Ads Manager?
Ads Manager is Meta's full advertising platform for Instagram, Facebook, Messenger, Threads and the Audience Network. Every campaign has three levels:
Campaign: where you pick one of the campaign objectives: Awareness, Traffic, Engagement, Leads, App promotion or Sales.
Ad set: where you set the audience, budget, schedule, placements and the conversion event you want to optimise for.
Ad: where you upload creative, write copy, add links and set tracking.
That structure is what lets you run five creatives against the same audience, exclude people who already bought, or send a single campaign only to Instagram Reels and Stories if that is where your product sells best.

Figure 1: Boosting covers the basics. Ads Manager gives you every lever.
Boost Post vs Ads Manager: Side-by-Side Comparison
Factor | Boost post | Ads Manager |
|---|---|---|
Setup time | 2 minutes, in the app | 10 to 30 minutes, desktop or mobile |
Goals | Profile visits, website visits, messages | Six campaign objectives, including Sales and Leads |
Audiences | Automatic or basic interests | Custom audiences, lookalikes, Advantage+ audience, exclusions |
Placements | Mostly decided for you | Full placement control or Advantage+ placements |
Tracking | Engagement and clicks | Meta Pixel, Conversions API, purchase and lead events |
Testing | None built in | A/B tests and multiple ads per ad set |
Best for | Quick reach, DMs, testing content | Sales, leads, app installs, scaling profitably |
Which One Gets Better Results?
It depends on what you call a result. If the result is attention, boosting can look cheaper. If the result is revenue, Ads Manager wins most of the time, and the reason is optimisation.
Here is a simple example. A D2C skincare brand spends ₹10,000 two ways. The boost, aimed at profile visits, brings about 2,400 visits and a handful of purchases. The Ads Manager campaign, set to the Sales objective with the Meta Pixel tracking purchases, brings fewer visits but several times more orders. The boost bought cheap clicks. The Sales campaign bought buyers.

Figure 2: Illustrative example. Cheaper clicks are not the same as cheaper customers.
This is the most common reason people decide Instagram promotions do not work. They measured the wrong thing, with a tool that could not optimise for the right thing.
The Features That Make the Difference
Campaign objectives
The objective tells Meta's algorithm what success looks like. A Sales campaign shows your ad to people most likely to complete a purchase. An Engagement campaign shows it to people most likely to like or comment. Same creative, different audience in practice. Boosting limits you to a short list of goals, so you cannot point the algorithm at money.
Meta Pixel and conversion tracking
The Meta Pixel is a small piece of code on your website that reports actions like add to cart, checkout and purchase back to Meta. Paired with the Conversions API, which sends the same events from your server, it gives Meta reliable conversion tracking. Without it, Meta cannot learn who buys, and you cannot see cost per purchase or return on ad spend. Boosts do not let you optimise for these events. Ads Manager is built around them.
Custom audiences
Custom audiences let you reach people who already know you: website visitors, customers from your CRM list, people who watched your Reels or engaged with your profile. They are the backbone of retargeting and the best seed for lookalikes. Ads Manager also lets you use them as exclusions, so you stop paying to show a first-order discount to someone who bought last week.
Advantage+ audience
Advantage+ audience is Meta's AI targeting. Instead of drawing a fixed box around your audience, you give it hints, and it looks beyond them when it predicts better results elsewhere. Under this setting, custom audiences and lookalikes act as suggestions, not hard limits. Location, language, minimum age and exclusions remain firm controls.
Meta reports that across 150 A/B tests, Advantage+ audience delivered a 9.7 percent lower median cost per result, and a separate analysis by Loomer found 13 percent lower cost per catalog sale. The catch: if you need a strict retargeting campaign that only reaches past visitors, you must switch Advantage+ off for that ad set.

Figure 3: Reported results vary by account. Test it against your current setup rather than assuming.
Placement control
Meta can show one campaign across Feed, Stories, Reels, Explore and many surfaces on Facebook. Advantage+ placements usually find the cheapest results, but placement control matters when your creative is built for one format. A vertical Reel with on-screen text can look broken in a square feed slot. Ads Manager lets you choose exactly where ads appear and tailor creative to each placement.
A/B testing
Ads Manager lets you test two hooks, two offers or two audiences with a clean split, so you learn what drives results instead of guessing. Boosting one post at a time gives you no fair comparison, because timing, audience and budget all shift between boosts.
When You Should Boost a Post
The post is already performing well organically and you want more people to see it.
Your goal is profile visits, followers or DMs, not website sales.
You run a local business and want quick reach around your location.
You want a cheap signal on which content to scale later.
You do not have a website or Meta Pixel set up yet.
When You Should Use Ads Manager
You sell online and want purchases, leads, bookings or app installs.
You have, or can set up, the Meta Pixel and Conversions API.
You want to retarget visitors or exclude existing customers.
You spend more than a small test budget each month and need to know cost per result.
You want to test creatives and scale the winners systematically.

Figure 4: A quick way to decide before you spend.
The Smart Approach: Use Both
The best-performing accounts do not choose one tool forever. They use each where it is strong.
Post and watch. Publish content organically and note which posts beat your usual reach and saves.
Boost small. Put a small budget behind the top one or two posts for a few days to confirm they work on cold audiences.
Move winners to Ads Manager. Use the existing post ID so likes and comments carry over, then run it under a Sales or Leads objective.
Add audiences. Launch with Advantage+ audience for prospecting, and a separate retargeting ad set built on custom audiences.
Track and cut. Judge each ad on cost per purchase or lead from the Meta Pixel and your backend, then pause losers and scale winners.
Common Mistakes to Avoid
Judging success by likes. Engagement is cheap. Measure cost per lead or purchase.
Boosting for sales without tracking. If Meta cannot see purchases, it cannot find buyers.
Running every ad to every placement with one creative. Build at least a vertical version for Stories and Reels.
Never excluding customers. You pay twice to reach people who already bought.
Changing too much, too soon. Give campaigns a few days and enough conversions to learn before editing.